We have a lot of antique furniture from an auction that we frequent. Most of it comes riddled with scratches and dust and strange smells. We're not huge strip-sand-and-paint DIYers, but I do have a simple 3-step method that cleans up the wood, leaves it smelling nice, and gets almost any piece of furniture ready to be displayed in our house. All the pieces of furniture in these photos are auction purchases that got a little love:
(the table)
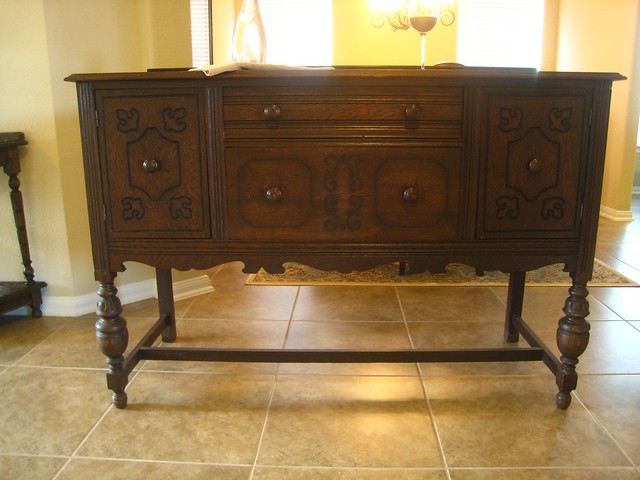
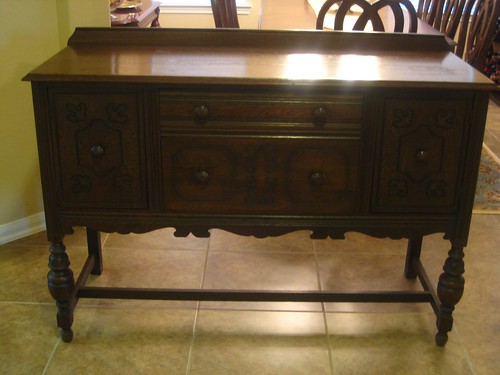
For a piece of furniture that's totally falling apart, you're going to need to do some extra work. But for your average bought-off-Craigslist or purchased-at-an-auction item that's finished wood, my simple method seems to work great! When we brought home our latest auction purchase, an antique buffet which happened to be in worse condition than anything we'd ever bought before, I thought I'd take photos of my process to share with y'all how I fix the antiques up.
You want to put your furniture in a garage or on some easy-to-clean surface (our tile entryway works great for this).
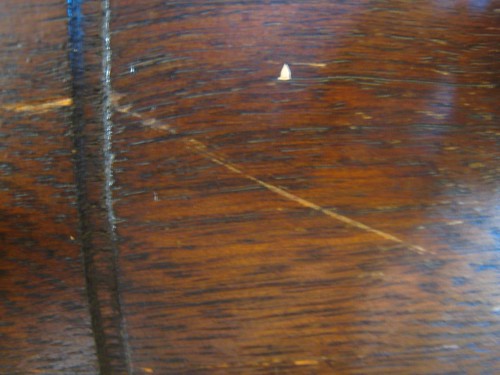
It may not look bad, but up close, this baby was all scratched and roughed up!
Step One: Basic Cleaning
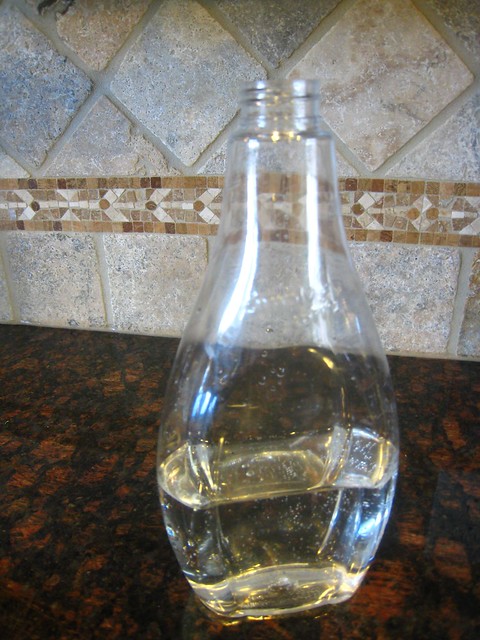
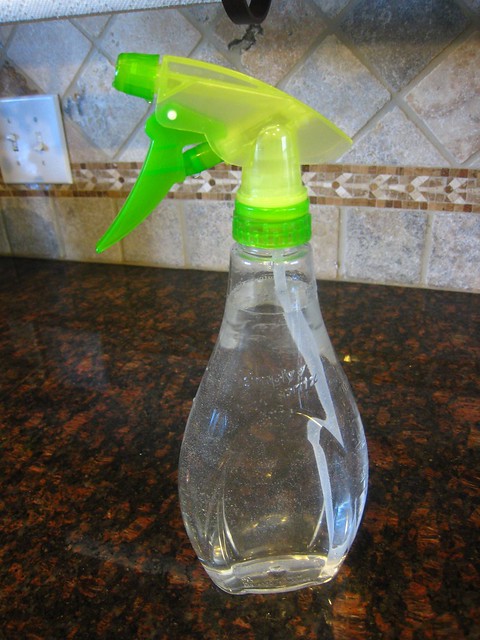
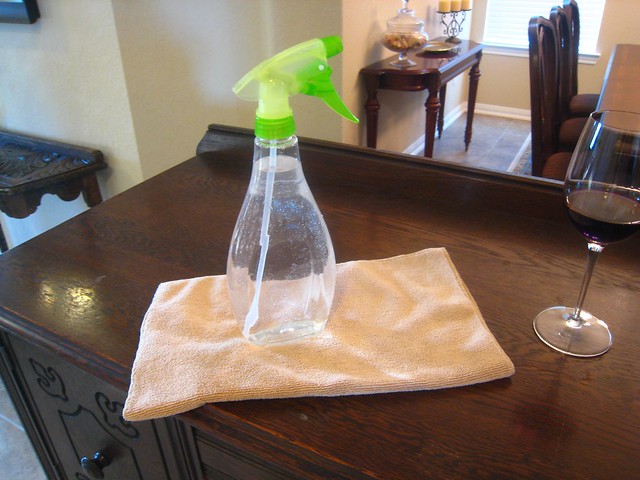
Get a spray bottle and fill it halfway with water. Fill the other half with vinegar.
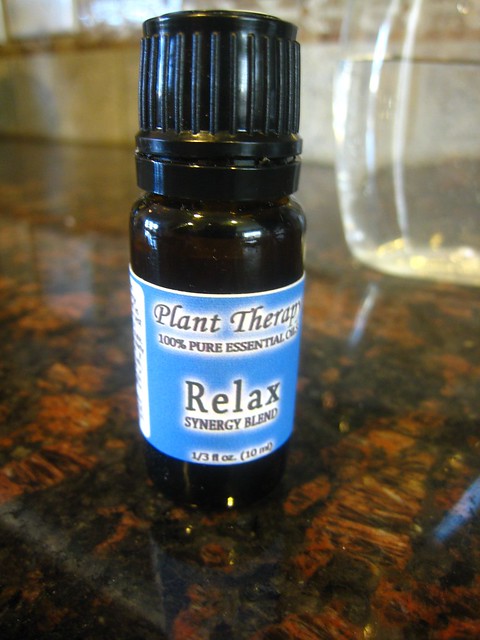
Give it a little shake to get the vinegar and water all mixed up. I like to add a couple drops of an essential oil as well, just to offset the vinegar smell, but it's not necessary.
Using a microfiber cloth, spray the vinegar solution on the cloth and wipe down the entire piece of furniture. Don't forget to get underneath it, inside the drawers, around the legs, and behind cabinet doors. The vinegar will neutralize any "old furniture" odors, and when it's dry, you won't be able to smell the vinegar at all!
(Wine is optional! Haha!)
Make sure you get rid of all dust and dirt. You may even want to vacuum your furniture before you start with the vinegar solution!
Step Two: Wood Conditioning and Stain Removal
Get some Murphy Oil Soap .
.
(source)
With another microfiber cloth (not the same one you used with the vinegar), put a little Murphy Oil on the cloth. The directions on the bottle will say to dilute it with water, but don't worry about that. Just put some straight on your microfiber cloth. Then rub the oil into the furniture (along with the grain of the wood). Add more Murphy Oil to your cloth as needed.
If there are spots with stains, use a little extra oil and rub the spot until the stain is gone. I've even been able to get small spots of paint off of wood using this stuff!
Step Three: Touch-Ups
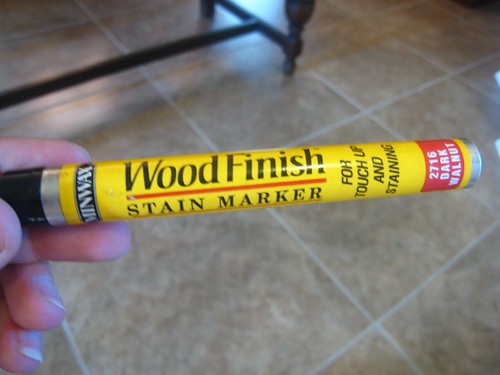
Once you've got the whole thing cleaned and conditioned, it's time to deal with those scratches and rough spots. My miracle product for this step is the Minwax Stain Marker .
.
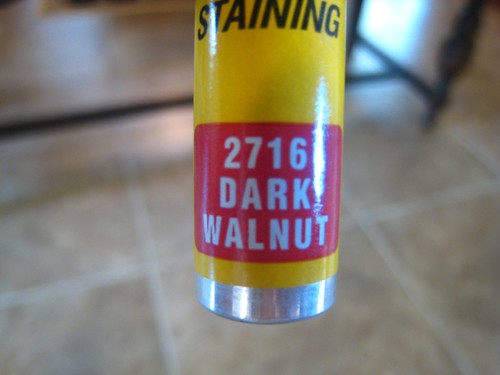
They come in a bunch of colors, but don't worry if the marker color doesn't exactly match your furniture. I've used "Dark Walnut" for every piece of furniture you see in this post, and it always ends up fine (even though the various pieces of furniture have slightly different stain colors).
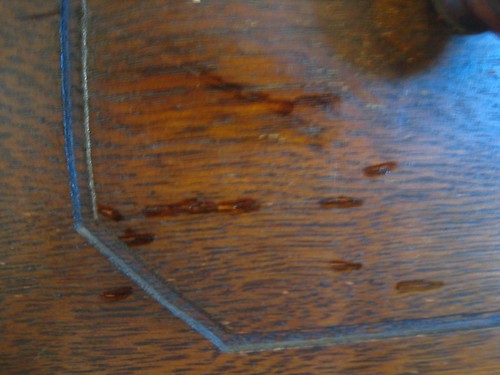
Now this is the part that takes a long time. Go over the piece of furniture inch by inch, and touch up any scratches with the stain marker. First, draw a line of stain over the scratch with the marker, then lightly rub it in with your finger so it blends. You may have to do that 2-3 times to get good coverage. For deeper scratches, you may have to press the tip of the pen a few times on the scratch so a little more stain comes out.
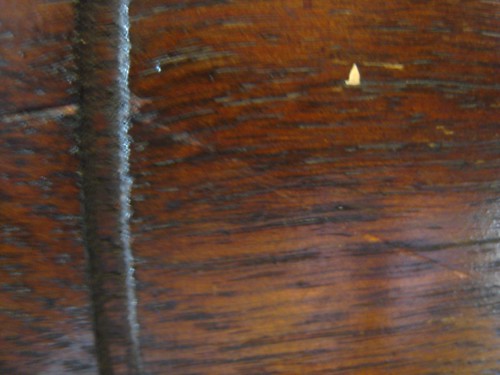
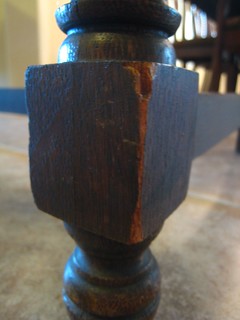
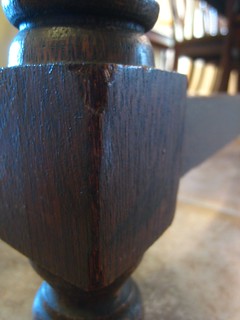
Here's a picture of a scratch I touched up:
First, I drew lines of stain over the scratches:
Then, after rubbing it in with my finger, we had this:
You can see how the scratch is still there, but the color blends in enough that you can't see it if you're more than a few inches away. To totally get rid of the scratch, you'd have to sand it down and re-stain the whole thing, but this method works just fine as long as no one's inspecting your furniture up close!
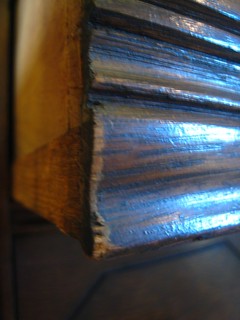
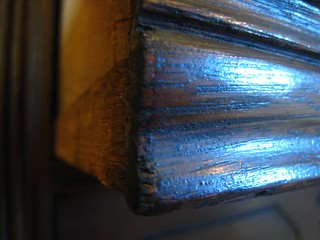
Here are another couple stain marker fixes:
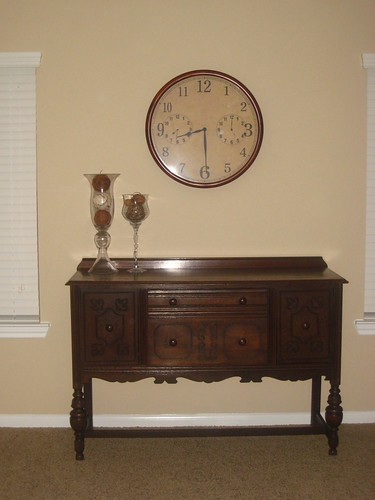
After going over the entire piece (for the buffet I was doing, it took about 90 minutes), you'll be able to step back and see just what a difference the detailed work makes!
Our new buffet is now happily living in the game room, awaiting some burlap curtains to go on the windows beside him. :)





I love all the antique funiture y'all have found! Where is the auction y'all go to?
ReplyDeleteI love all the antique funiture y'all have found! Where is the auction y'all go to?
ReplyDeleteThat chair looks fantastic!
ReplyDeleteThe old furniture in house has their own grace and the furniture are the things that nobody uses so frequently and the above tips to keep the old furniture are awesome I was aware of only using oil soap to make the furniture graceful.
ReplyDeleteDallas Patio Furniture