

Sorry I don't have a finished picture... the frame in the middle ended up being a cute little navy and maroon sign with directions for signing the quilt squares. We put the fabric pens in between the baskets. The left basket says "Blank Squares" and the right one says "Finished Squares," so we put all of the fabric squares on the left and they gradually got moved to the right as people signed them.
Here's what I've learned so far about guestbook quilts:
1. Stabilize your fabric by ironing it to freezer paper. It makes it easier for people to write on.
2. Use good fabric pens (and put them in an obvious spot so people don't put their ballpoint out of their purse and use that!). Apparently colored ones don't work as well as black, so we used black.
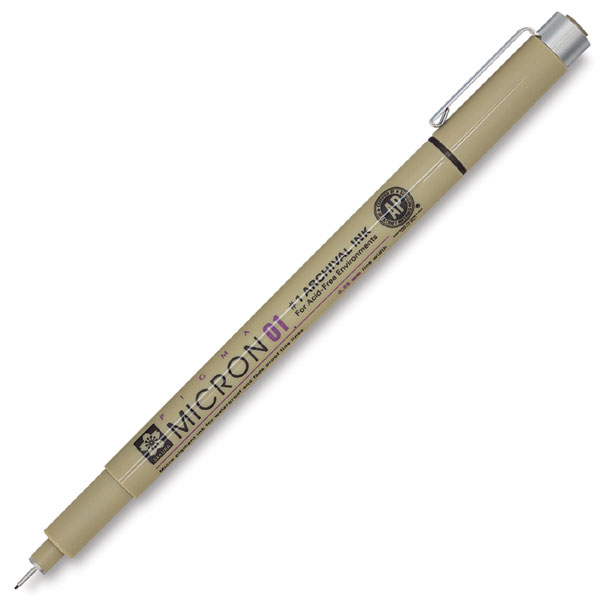
This is what we used - Pigma Micron pens. We tried a few different widths before we found the size that worked just right.
3. Draw a square in washable pen to mark the area that your guests should write in (leave about a 1" border for sewing purposes).
4. If you can give out squares before the wedding (at the rehearsal dinner, showers, etc.), do it! That way you'll prevent huge crowds of people all trying to sign at once at the wedding.
5. Put a "test fabric" square out for people to try the pens on before they sign an actual square.
6. People will steal your pens. We put out 5 pens at the Rehearsal Dinner and came home with 2. We put out 6 at the wedding and came home with 4. Be prepared.

Jeff's brother had a hard time deciding what to write...
(Picture from Bridesmaid Amy)

But my sister wrote a lot on hers!
(Picture from BM Amy)
Please let me know if you're doing a guestbook quilt and have questions! We mailed a few quilt squares and pens to people who couldn't make it to the wedding so they could sign, and once we get those back my MIL will start piecing it all together! I'm beyond excited!
I LOVE this idea!!!!!! I had such a tiny wedding that I only had a picture where people signed the mat, but this is so precious! What a great, unique guest book that you'll have forever!
ReplyDeleteI can't wait to see it finished! We did a huge picture mat and it's in our house now - I'll randomly stop when I walk by it and read more of our guests' messages! I love guestbooks that you actually look at after the wedding!
ReplyDeleteThis is such a great idea! I wish I had seen it before my wedding. We had a board (like literally a piece of wood) that had the name of the town we met/married in/now live in and everyone signed it in colored sharpie. I love guest books that don't just go on a shelf!
ReplyDeleteI am thinking about doing this for my wedding next year - I am worried about the durability of the fabric pens, how did yours turn out and is it durable?
ReplyDeleteHi Rachel - yes, I think it's pretty durable. My mother in law has done this a few different times, and the pens we used on ours are supposedly the best for durability (but NOT the colored pens, black only). We've had ours for about two years now, and it still looks just like it did when it was new!
DeleteYour quilt is beautiful. My daughter would like to do this at her wedding. Would you mind telling me how big the squares were cut? They look like 6X6.
ReplyDeleteHi Donna! I believe they are 6x6 on the finished quilt, so they were either 7x7 or 8x8 initially (I can't remember how big of a border my mother-in-law used). Here's the link to the finished product if you'd like to take a look: http://www.spiralsandspatulas.com/2011/05/guestbook-quilt-its-done.html
DeleteI hope your daughter's quilt turns out beautifully! I'm sure she'll love it!