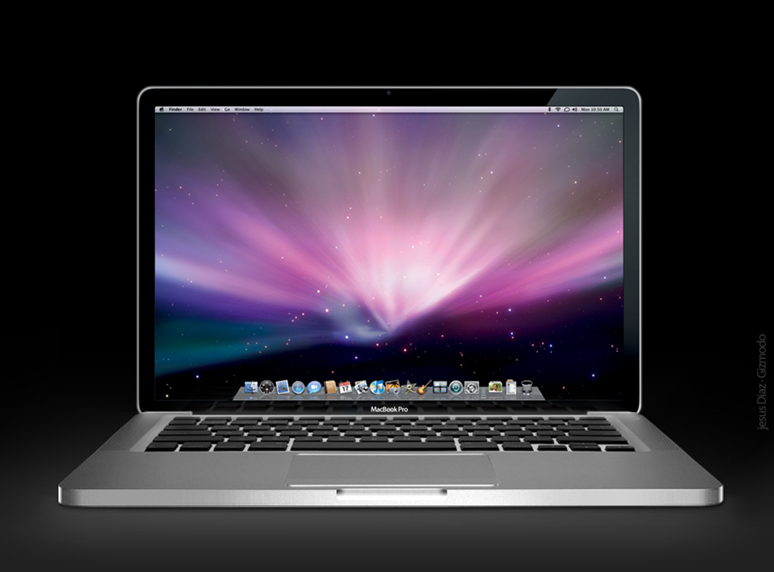
The good news is, I finally gave up on my trusty-but-newly-not-functioning Toshiba laptop, and I'm now the proud owner of one of these guys:
MacBook Pro!
And I love him. And he loves me. And now I can blog regularly again.
Today I have something exciting to show you: our Unity Candle set!!!
I bought the candles during a 50% off Wedding sale at Hobby Lobby. It's actually a lot cheaper to buy ivory candles in the Candle Aisle rather than the Wedding Aisle, but I wanted pearlized shimmery ones, and you can only get those in the Wedding Aisle. But I waited for 50% off week, so it was fine.
To do this project you need the following:
1 pillar candle
2 taper candles
Ribbon in two colors (one thicker than the other)
2 sheets of vellum (1 for practice, 1 for the real thing)
I started with the tapers. I cut a short length of burgundy ribbon, and affixed it around each taper with double-stick tape:
Next I just tied bows of the navy ribbon around the center of the burgundy. Easy peasy. Two candles done.
Umm... so I can't figure out how to rotate photos on the MacBook Pro. My apologies. I'll have to consult my sister on this issue...
Moving on to the pillar candle... I designed the front of our Unity Candle in PowerPoint (what else?), and included a Bible verse from one of our ceremony readings. I printed it out in a few different sizes on regular white paper and cut them out to see which size was just right.
This one looks perfect!
Next, it was time to print on the vellum. I selected the "Transparent" setting on my printer options, and selected "Best" print quality (maximum dpi). This is what I got:
Yeah. Blotchy and awful.
I switched the print quality back to "Regular," and that gave me this:
Better, but still awful.
I finally reset the print quality to "Minimum," and that seemed to work:
Yes!
Apparently vellum absorbs ink like super-amazingly, so if you're printing onto vellum it works better if you use a lower Print Quality setting and minimize the dpi.
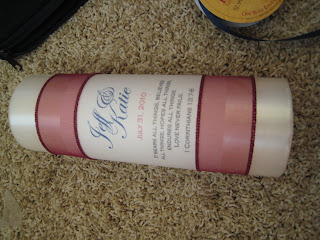
I trimmed the printed vellum with my paper cutter, and affixed it to the pillar candle with a couple strips of double-stick tape in the back. The hardest part was making sure it was perfectly level. No one wants a crooked Unity Candle!
Next I repeated the burgundy ribbon on the big candle, making sure that the center of the ribbon was over the edge of the vellum (if your ribbon isn't sheer, this doesn't matter).
Lastly, I added a strip of navy ribbon on top and a bow of navy ribbon on the bottom. All done!
Now that we're in the month of the wedding, I'm finally getting to work on fun little projects like this! It's getting pretty exciting around here. :o)


Looks good! Vellum is actually awful at absorbing ink so it sits on top of it and smears really easily. Your solution works, or using a laser printer works too!
ReplyDeleteYou're getting so close! I'm so excited for you!