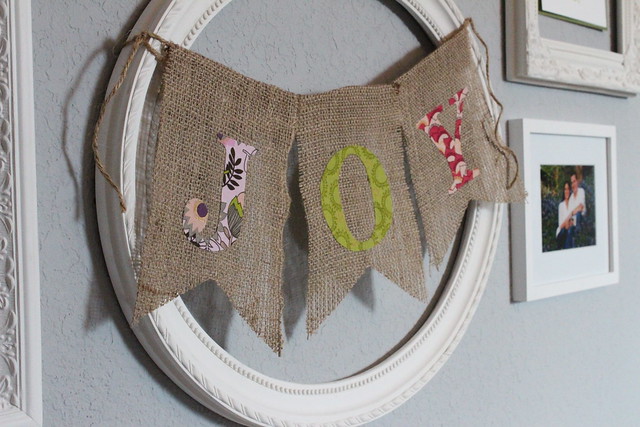
I've talked before about how I try to live a life filled with joy. But I'm only human, so sometimes I end up complaining or having a rough day or just being frustrated with various things instead. I think we all do that sometimes. So I made myself a crafty little reminder to hang above my desk and cheer me up when I'm having one of those rough days (and to look pretty on all the good days too!).
This banner is a quick-and-simple DIY project, and you can personalize the letters (and/or number of panels) to say whatever you want!
Here's everything you need to have a cute little banner of your own:
Twine
Burlap
Three small pieces of fabric
Stitch Witchery, or some other iron-on hem tape
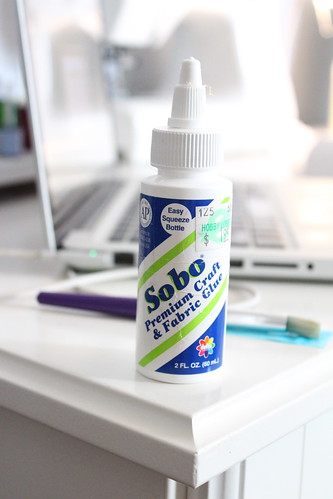
Craft glue
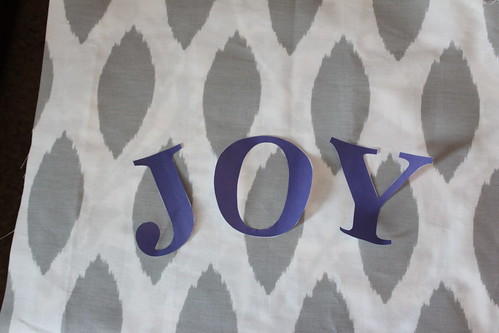
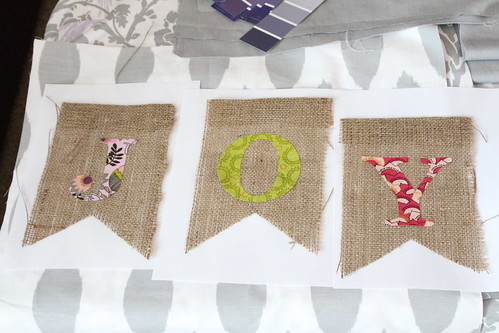
Step One: Print out the letters you want to use at the right size, and cut them out.
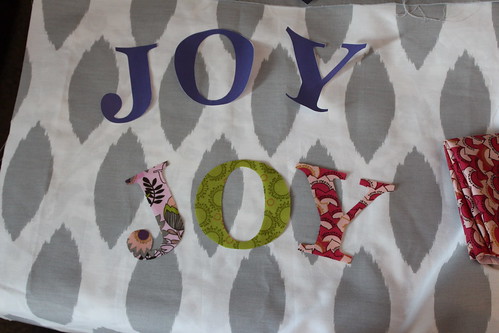
Step Two: Trace the letters onto the back of your fabric pieces, and cut the fabric out.
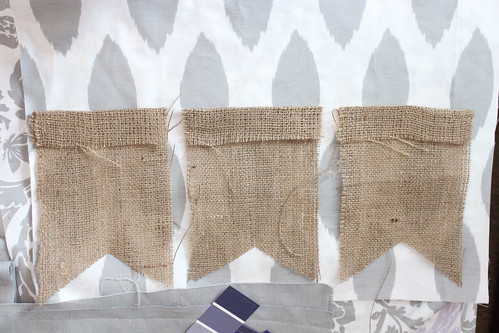
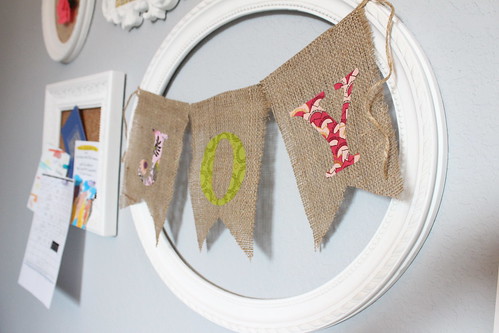
Step Three: Cut out three banner pieces out of burlap. I just eyeballed this on the first one and then cut the next two to match. First cut a rectangle, then notch a triangle out of the bottom. Fold over the top inch and iron it down (a hair straightener works GREAT for this!).
Step Four: Use craft glue to affix the fabric letters onto the burlap pieces.
I like Sobo.
Step Five: This is the only semi-challenging part. Put the twine through the folded flap and slide it up as close to the fold as possible. Then place the Stitch Witchery at the bottom of the flap and iron it down (this is also super easy with a hair straightener)!
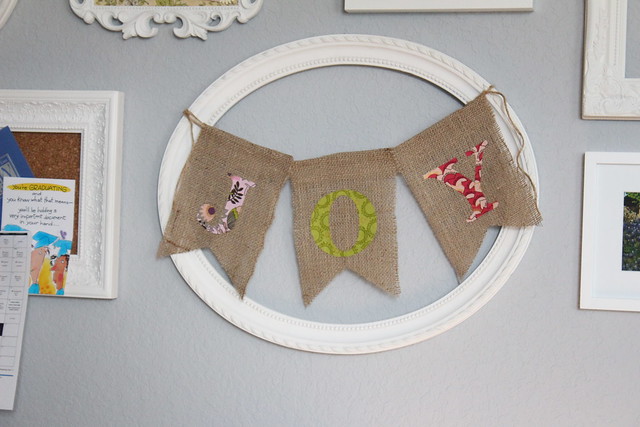

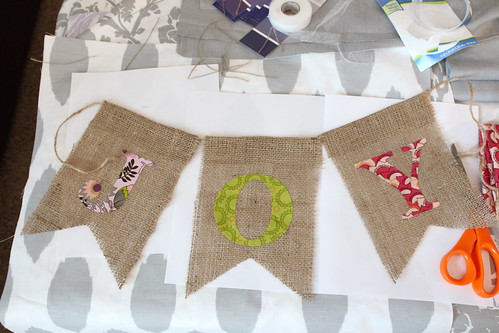
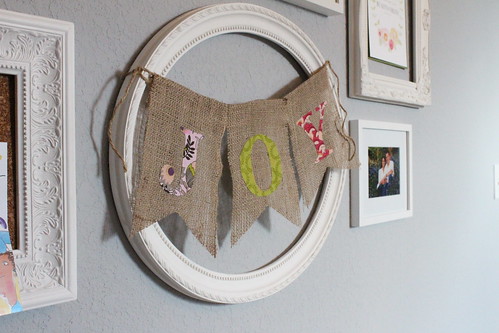

This is so, so cute! Can't wait for the full craft room reveal one day!
ReplyDelete